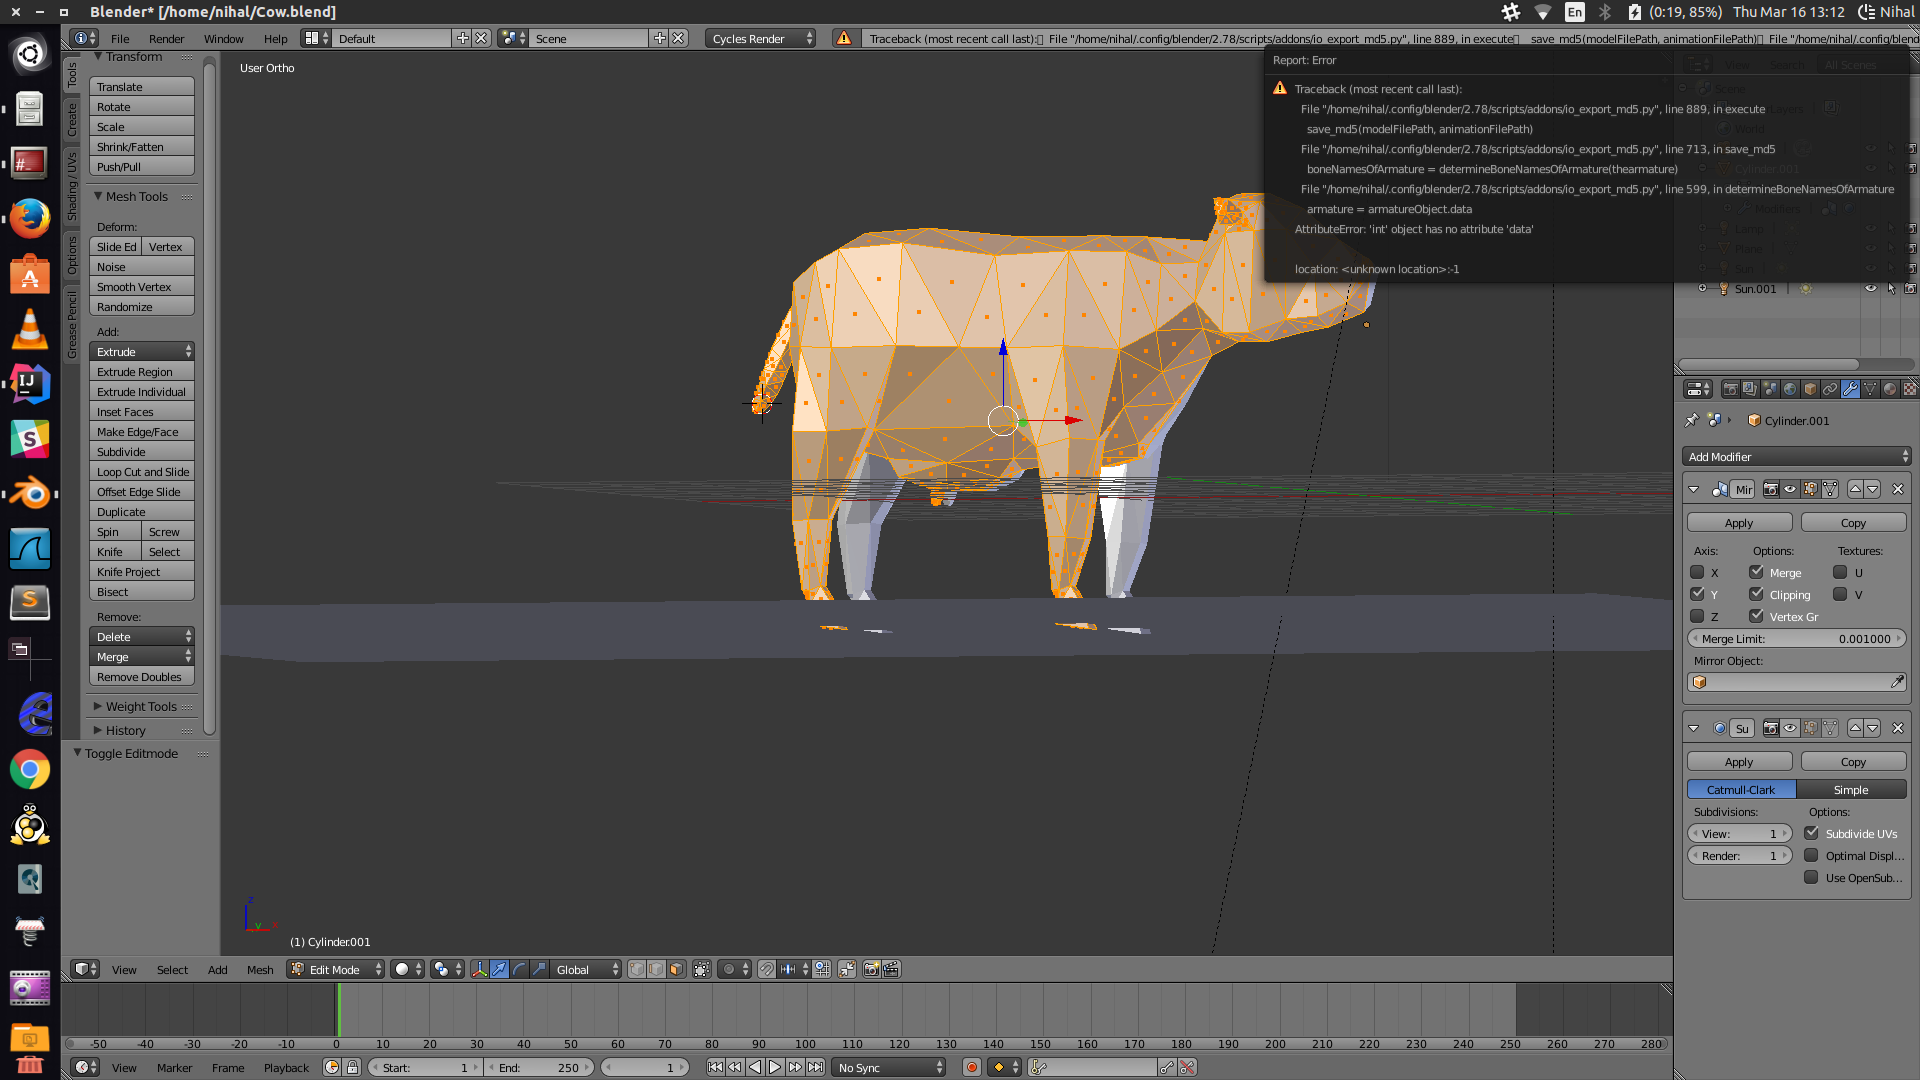
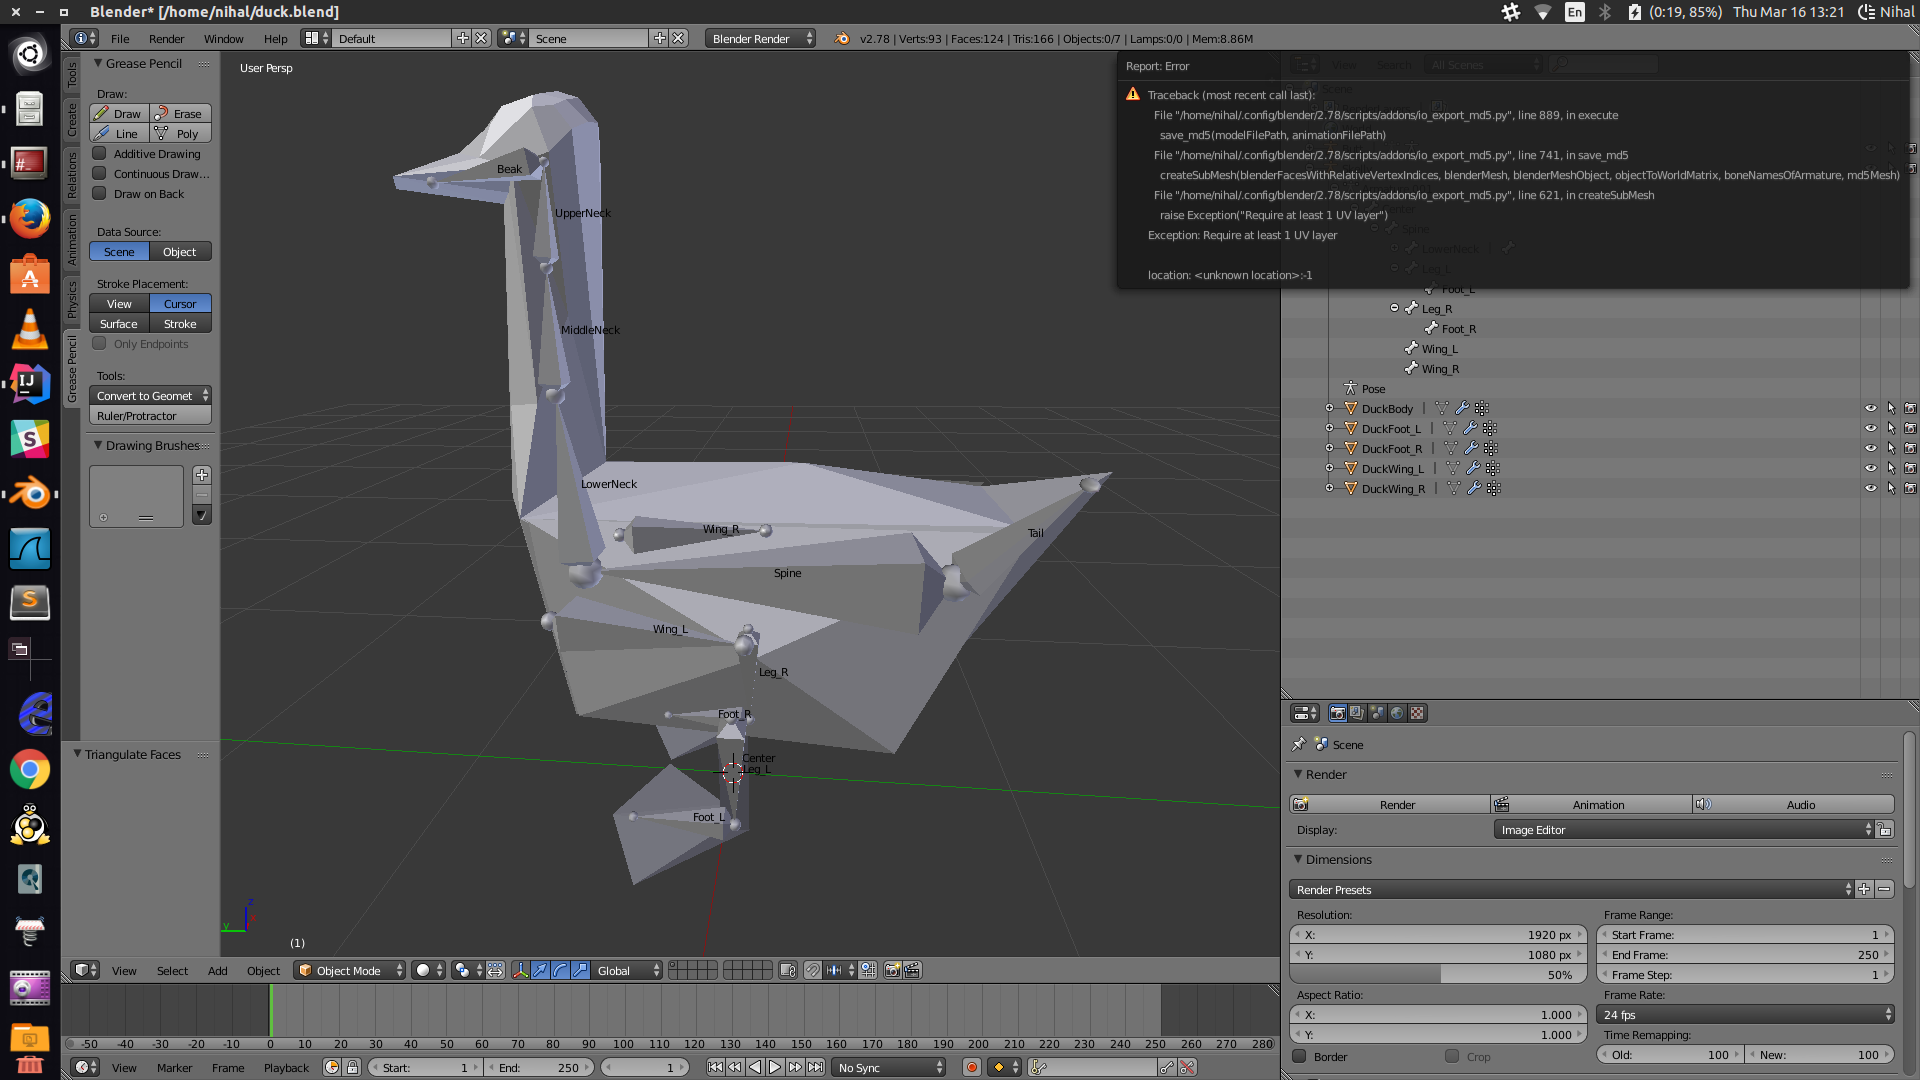
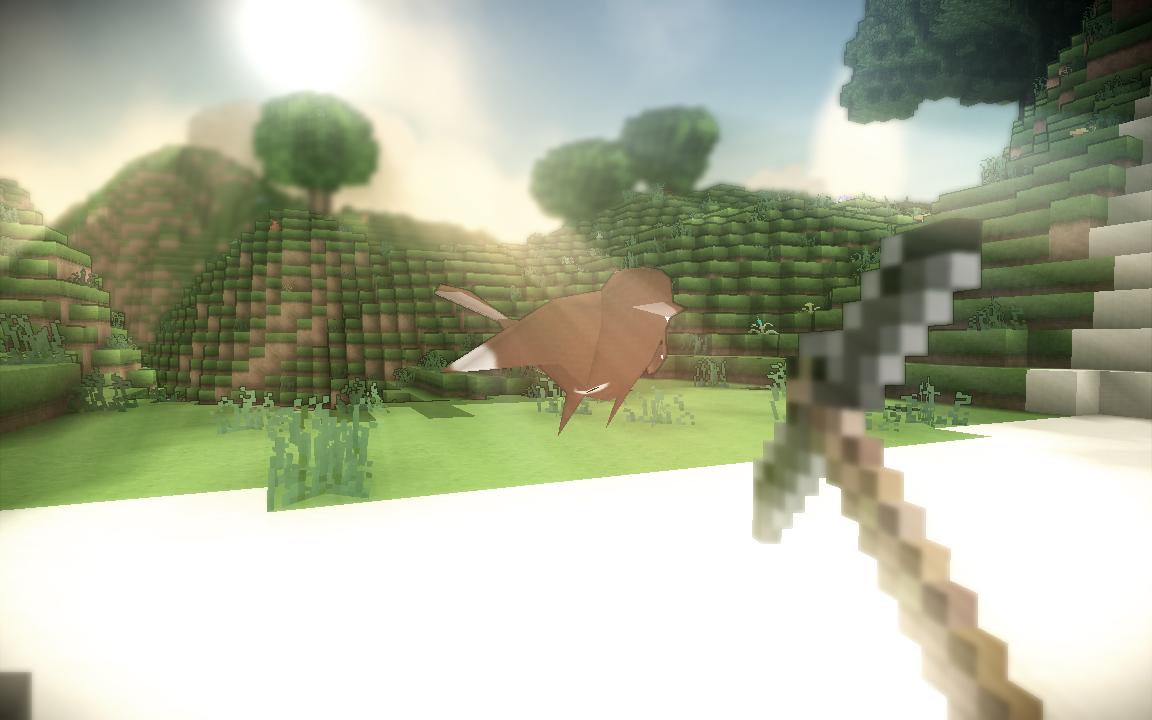
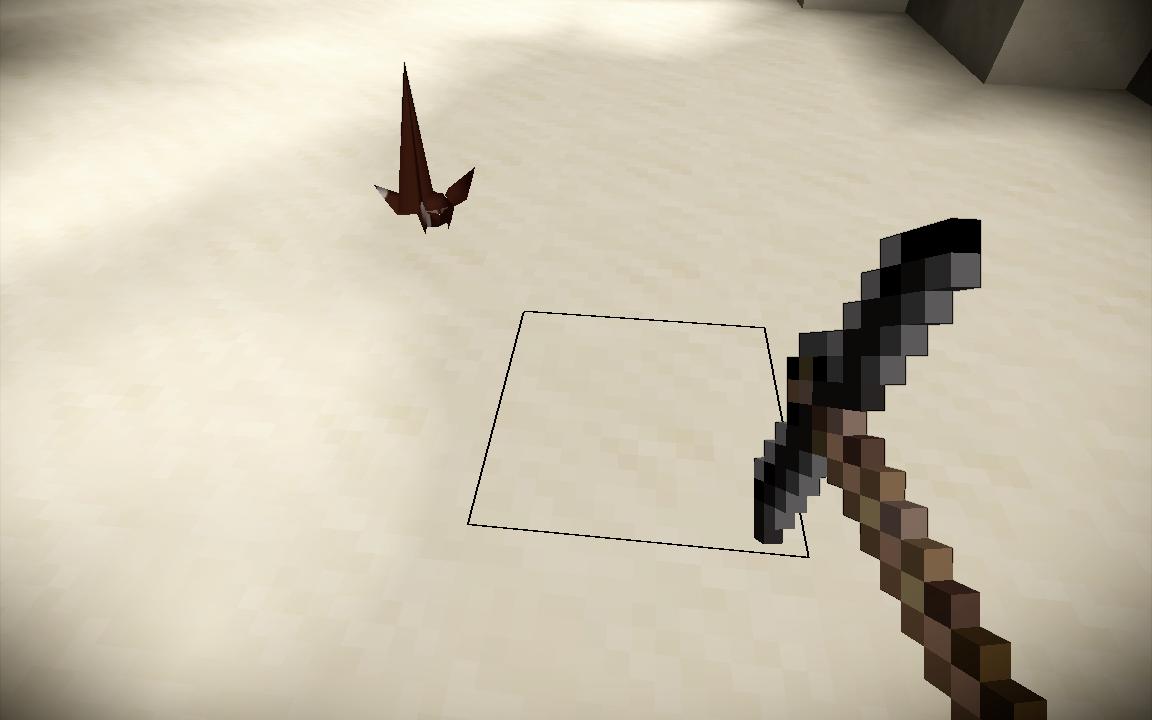
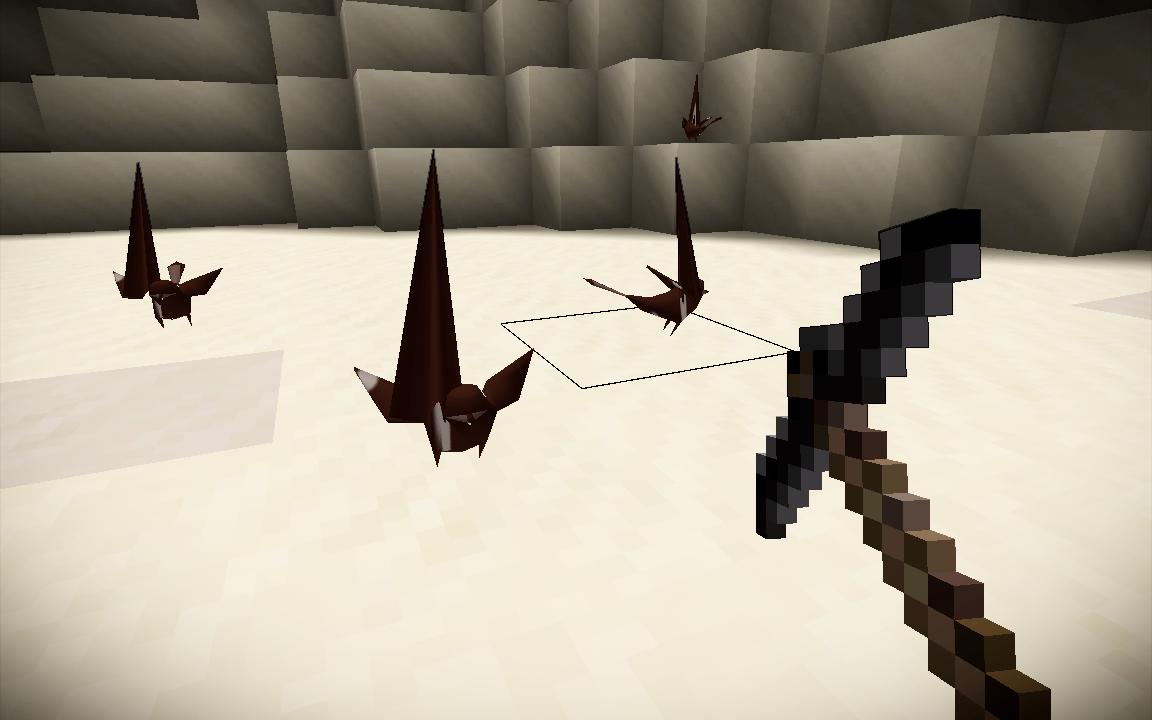
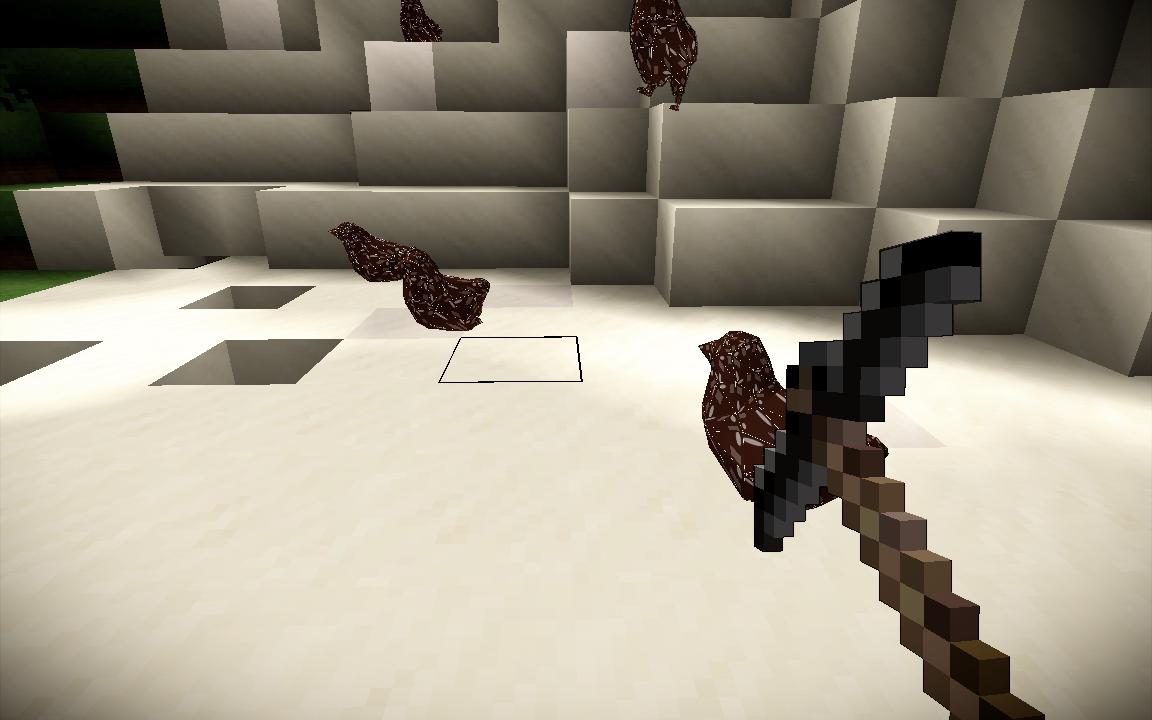
So i finnaly take the time to make a little blender to md5 export howto
First thing : get the exporter : http://www.katsbits.com/smforum/index.php?topic=167.0
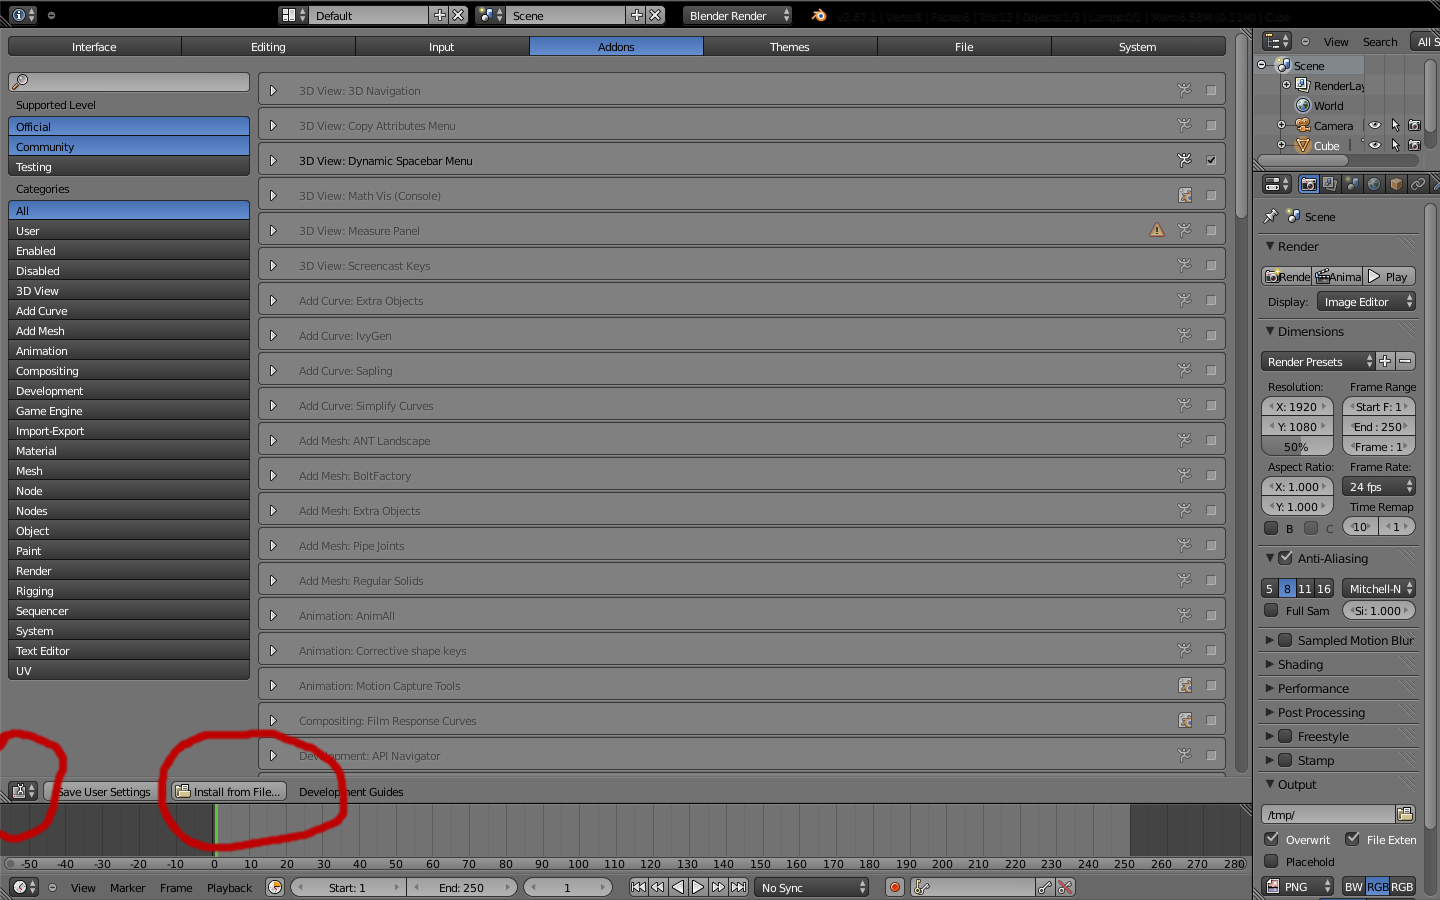
To install in blender : Open a user preferences menu, and you can use install from file to open directly the zip file in blender :
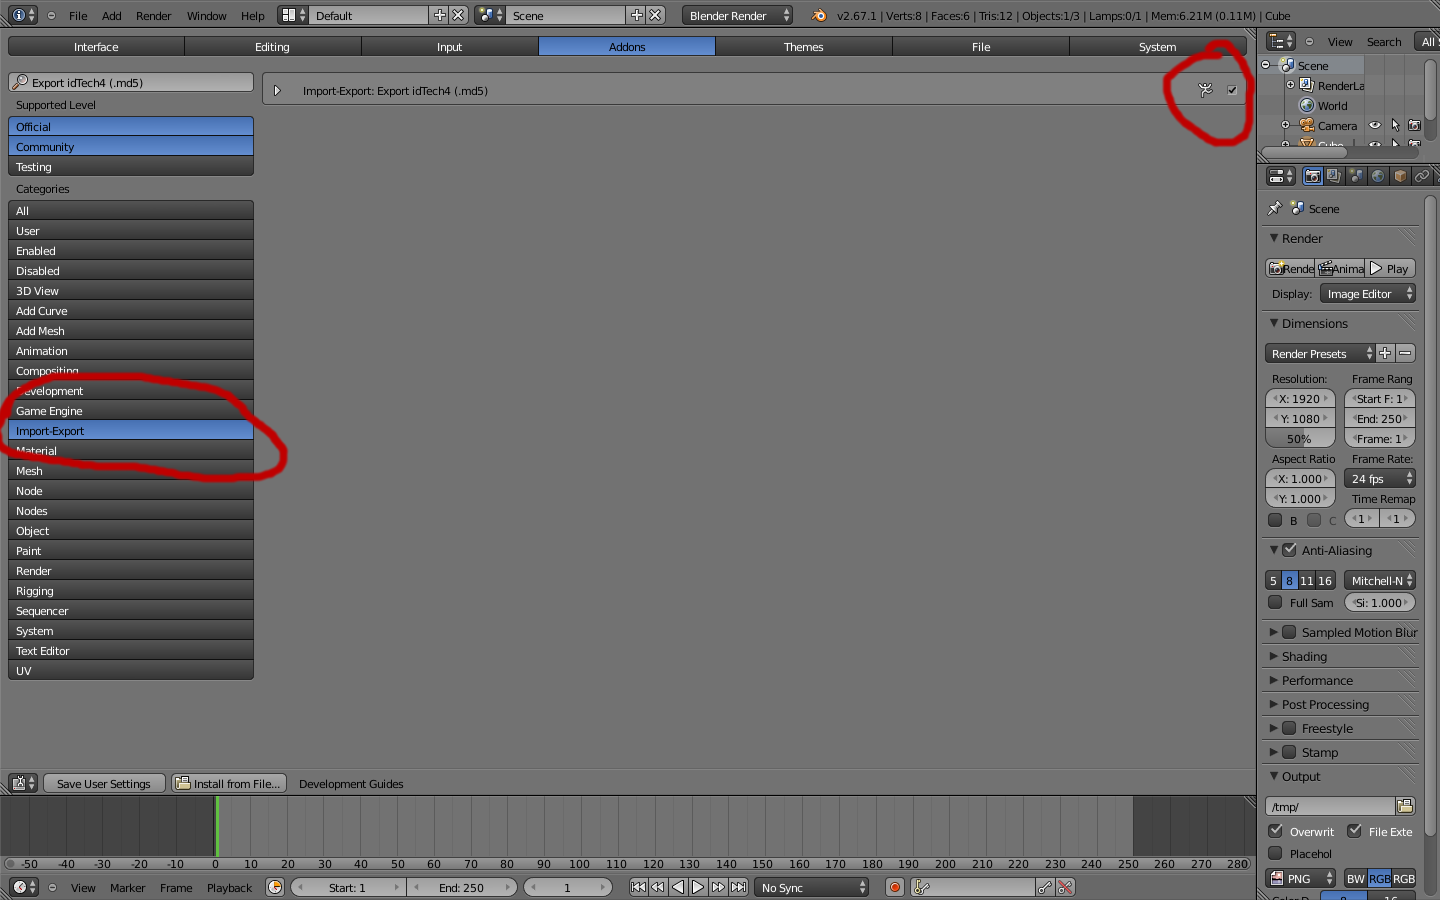
You'll find the new addon in the import export section, just check the box :
Now you should be ready for exporting. You might need an md5 viewer to test the results. For what i know, none exist on linux, i have to use a windows one with wine. It kind of works, with a tendancy to crash, but is enough for testing exports.
Note that afaik md5 is only for rigged model, you will need a mesh attached to a skeleton. For static mesh to be use as voxels, you should use the specific terasology blender exporter.
One last thing, that is not md(-export-relevant, but usefull to know : skeletons should always, as advised by Maternal, have a root bone, of coordinates 0,0,0, that is parent to all other bones, and reamins still at 0,0,0 regardless of the animation activity. This bone will be used in code for the actual positionning of the animated model. From my test it can be added at the end if it was omited, but better to think of it from the start.
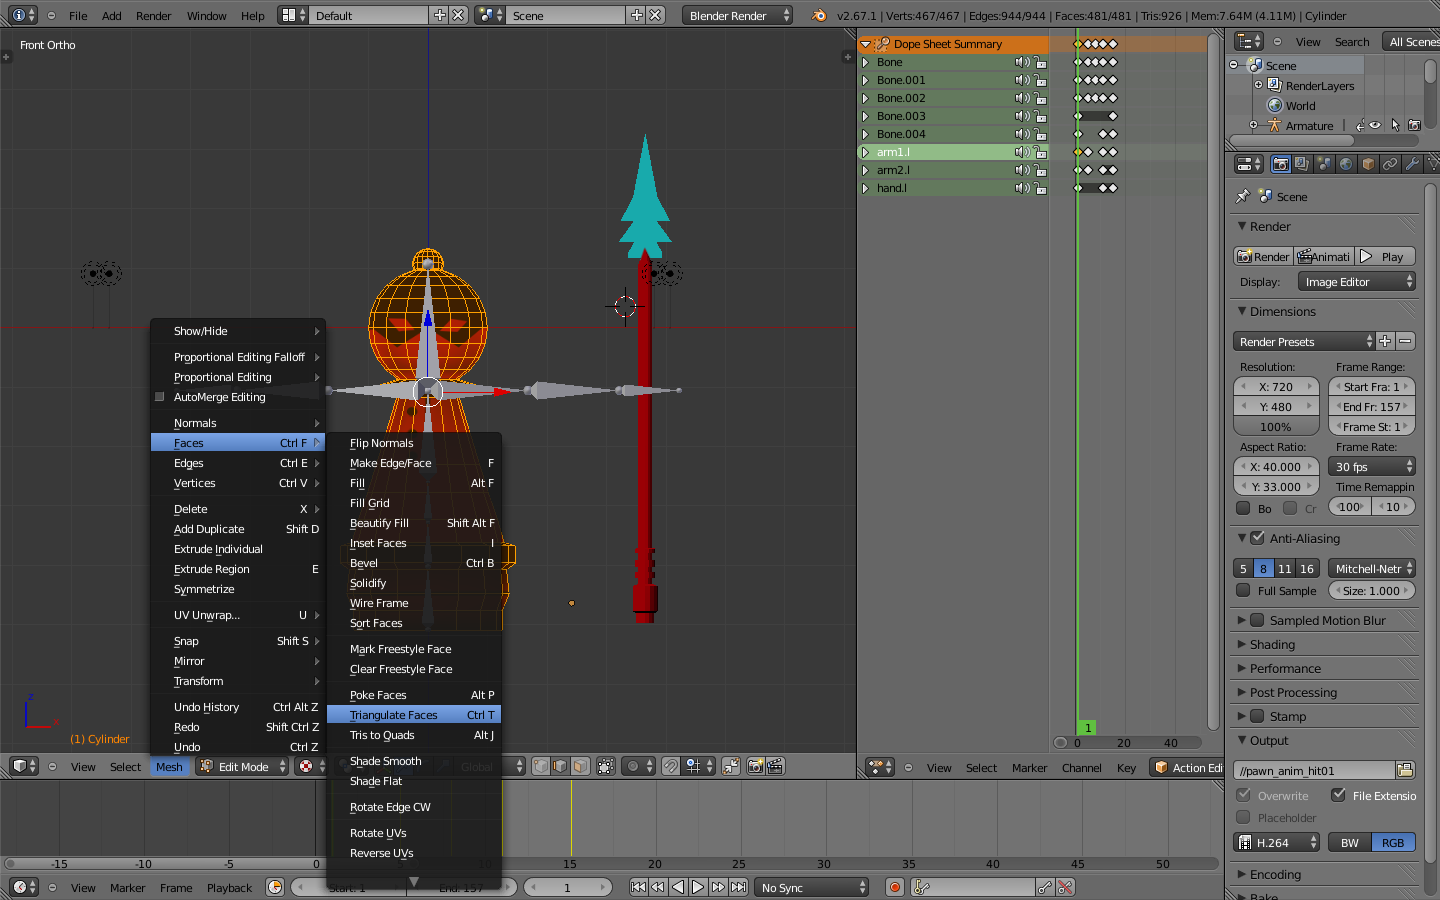
So, there is one important step to have the exporter work, it is to triangulate all faces of the mesh. By default blender mesh creates quads, so the have to be broken into triangles. Go in edit mode, select all face (with a or a-a) and Mesh->Faces->Triangulate faces :
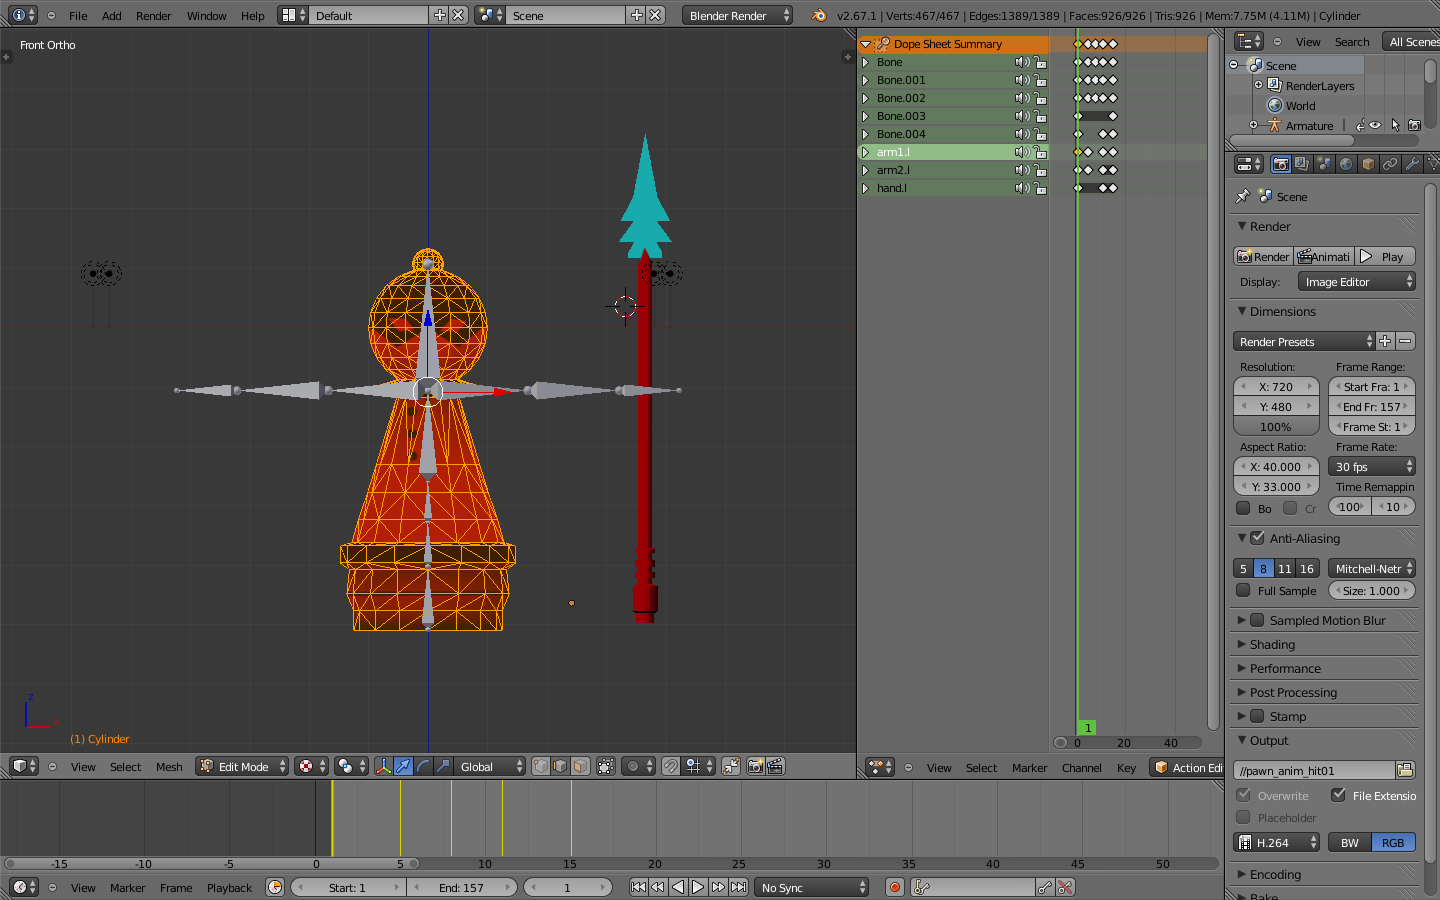
The result is this :
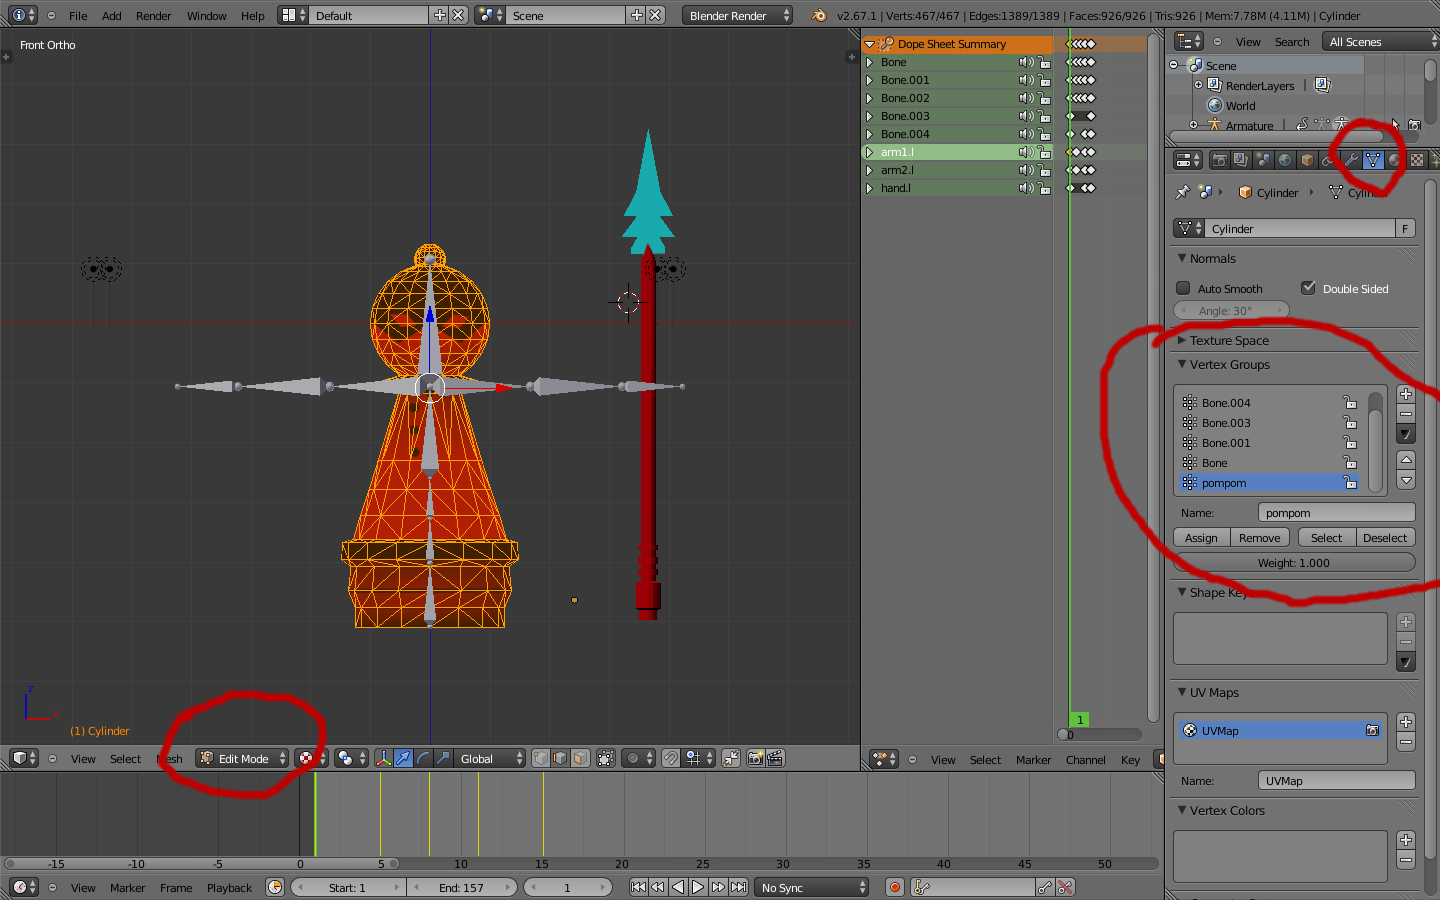
Now for a step that might be optionnal : remove all vertex groups that dont belong to a skeleton bone. Vertex groups are usefull for mesh editing, but they are also used for attaching part of the mesh to a specific bone. You can do it manually, assigning a number of vertices to a vertex group with the same name as a skeleton bone will attach these vertices to that bone. It is also done automatically when you use weight painting. In both case, having vertex groups other thant the ones used by the bones will mess up the export.
Int that case the vertex group "pompom" is not used by a bone, it must be deleted :
And thats mostly it. From my experience it is better if the skeleton is in object mode for export, but i'm not sure its absolutely necessary.
One last thing is to check the scale of the export. It is possible that, like me, you didnt bother with that before, so it's the good time to rectify.
In that case the pawn is over 6 unit high, so i scale it at 0.30 to have a pawn of roughly 2 meters high in terasology :
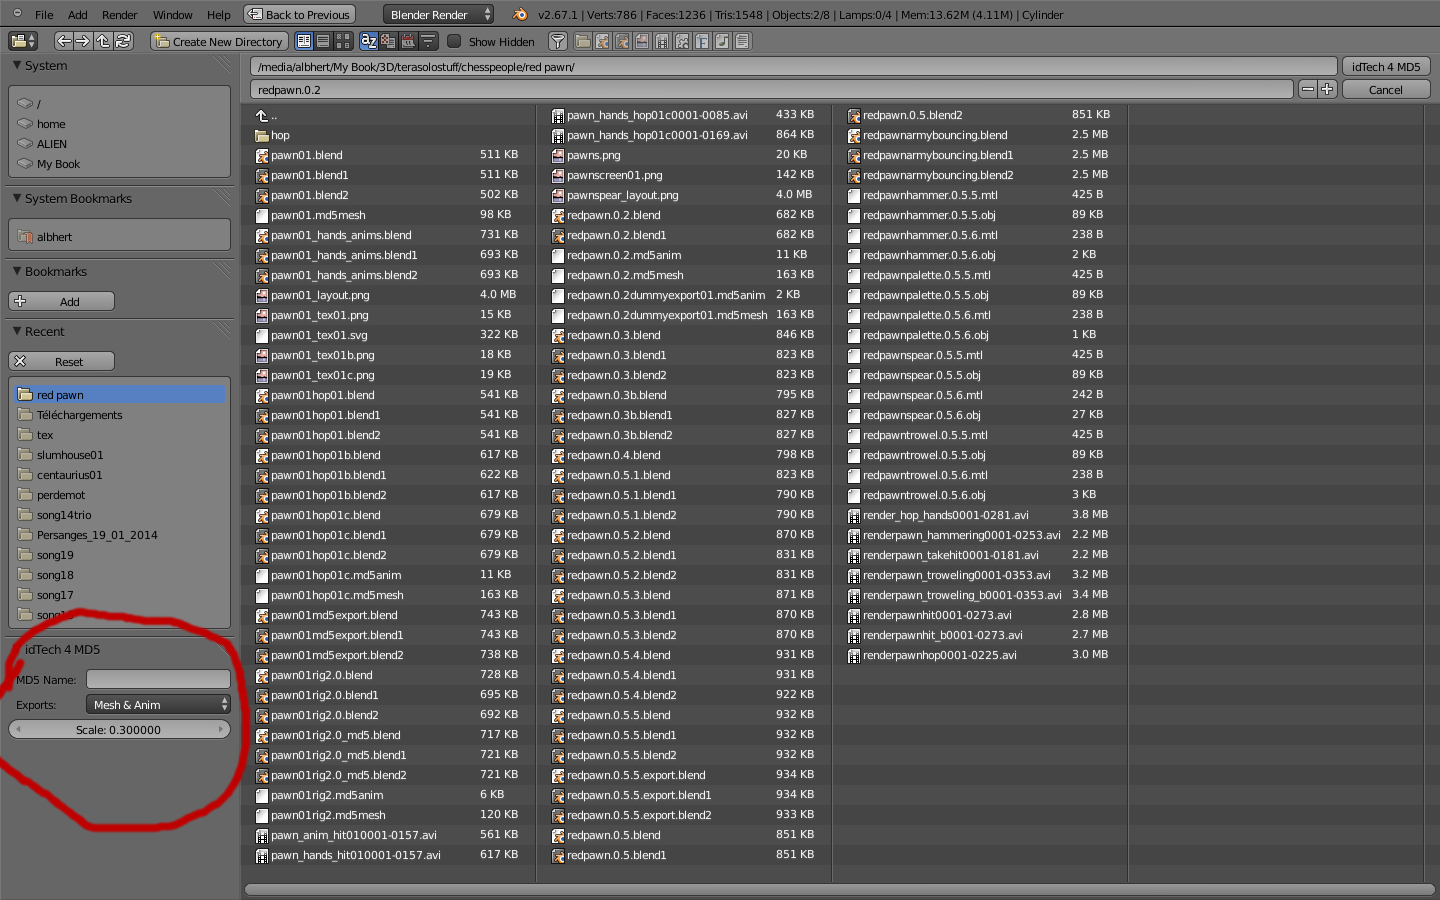
You have the possibility to export as both mesh and anim, or only the mesh or the anim. In any case, you only export the animation that is selected in the action editor. You have, afaik, to make another export for each different animation.
Thats all i can think of for now, hope that is helpfull.
First thing : get the exporter : http://www.katsbits.com/smforum/index.php?topic=167.0
To install in blender : Open a user preferences menu, and you can use install from file to open directly the zip file in blender :

You'll find the new addon in the import export section, just check the box :

Now you should be ready for exporting. You might need an md5 viewer to test the results. For what i know, none exist on linux, i have to use a windows one with wine. It kind of works, with a tendancy to crash, but is enough for testing exports.
Note that afaik md5 is only for rigged model, you will need a mesh attached to a skeleton. For static mesh to be use as voxels, you should use the specific terasology blender exporter.
One last thing, that is not md(-export-relevant, but usefull to know : skeletons should always, as advised by Maternal, have a root bone, of coordinates 0,0,0, that is parent to all other bones, and reamins still at 0,0,0 regardless of the animation activity. This bone will be used in code for the actual positionning of the animated model. From my test it can be added at the end if it was omited, but better to think of it from the start.
So, there is one important step to have the exporter work, it is to triangulate all faces of the mesh. By default blender mesh creates quads, so the have to be broken into triangles. Go in edit mode, select all face (with a or a-a) and Mesh->Faces->Triangulate faces :

The result is this :

Now for a step that might be optionnal : remove all vertex groups that dont belong to a skeleton bone. Vertex groups are usefull for mesh editing, but they are also used for attaching part of the mesh to a specific bone. You can do it manually, assigning a number of vertices to a vertex group with the same name as a skeleton bone will attach these vertices to that bone. It is also done automatically when you use weight painting. In both case, having vertex groups other thant the ones used by the bones will mess up the export.
Int that case the vertex group "pompom" is not used by a bone, it must be deleted :

And thats mostly it. From my experience it is better if the skeleton is in object mode for export, but i'm not sure its absolutely necessary.
One last thing is to check the scale of the export. It is possible that, like me, you didnt bother with that before, so it's the good time to rectify.
In that case the pawn is over 6 unit high, so i scale it at 0.30 to have a pawn of roughly 2 meters high in terasology :

You have the possibility to export as both mesh and anim, or only the mesh or the anim. In any case, you only export the animation that is selected in the action editor. You have, afaik, to make another export for each different animation.
Thats all i can think of for now, hope that is helpfull.

